Molten Chocolate Lava Cake
Posted Feb 03, 2019, Updated Feb 15, 2023
This post may contain affiliate links. Please read our disclosure policy.
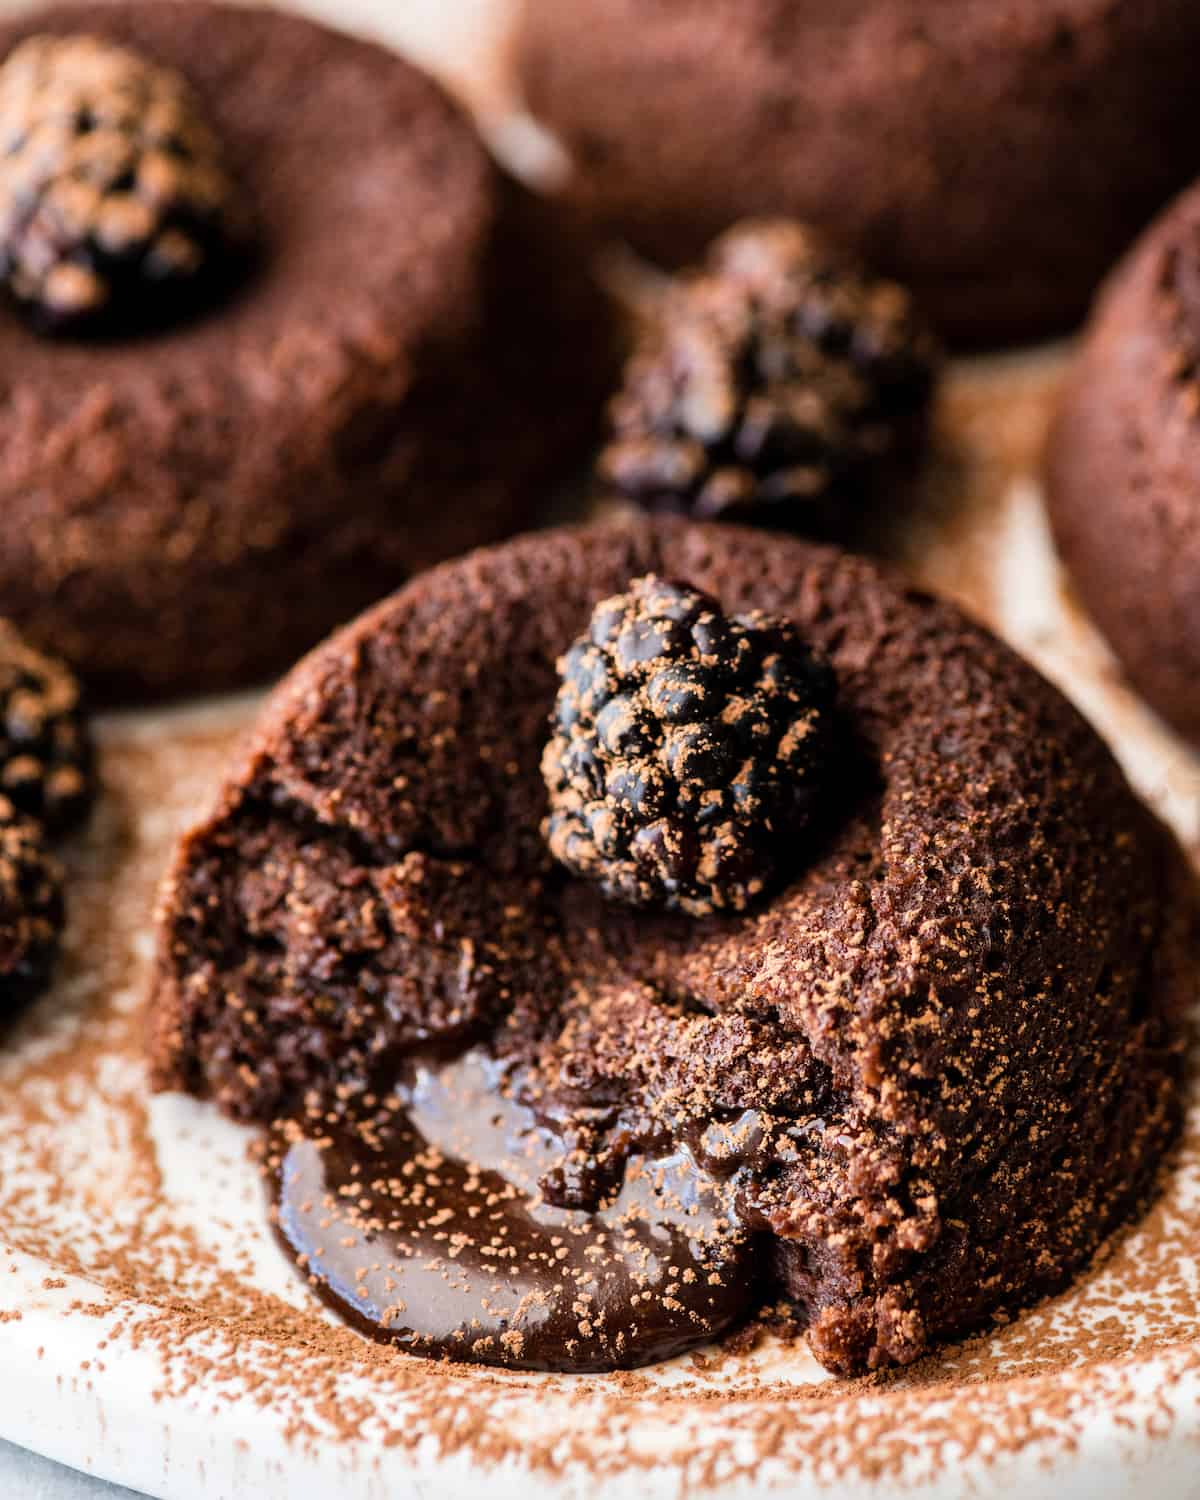
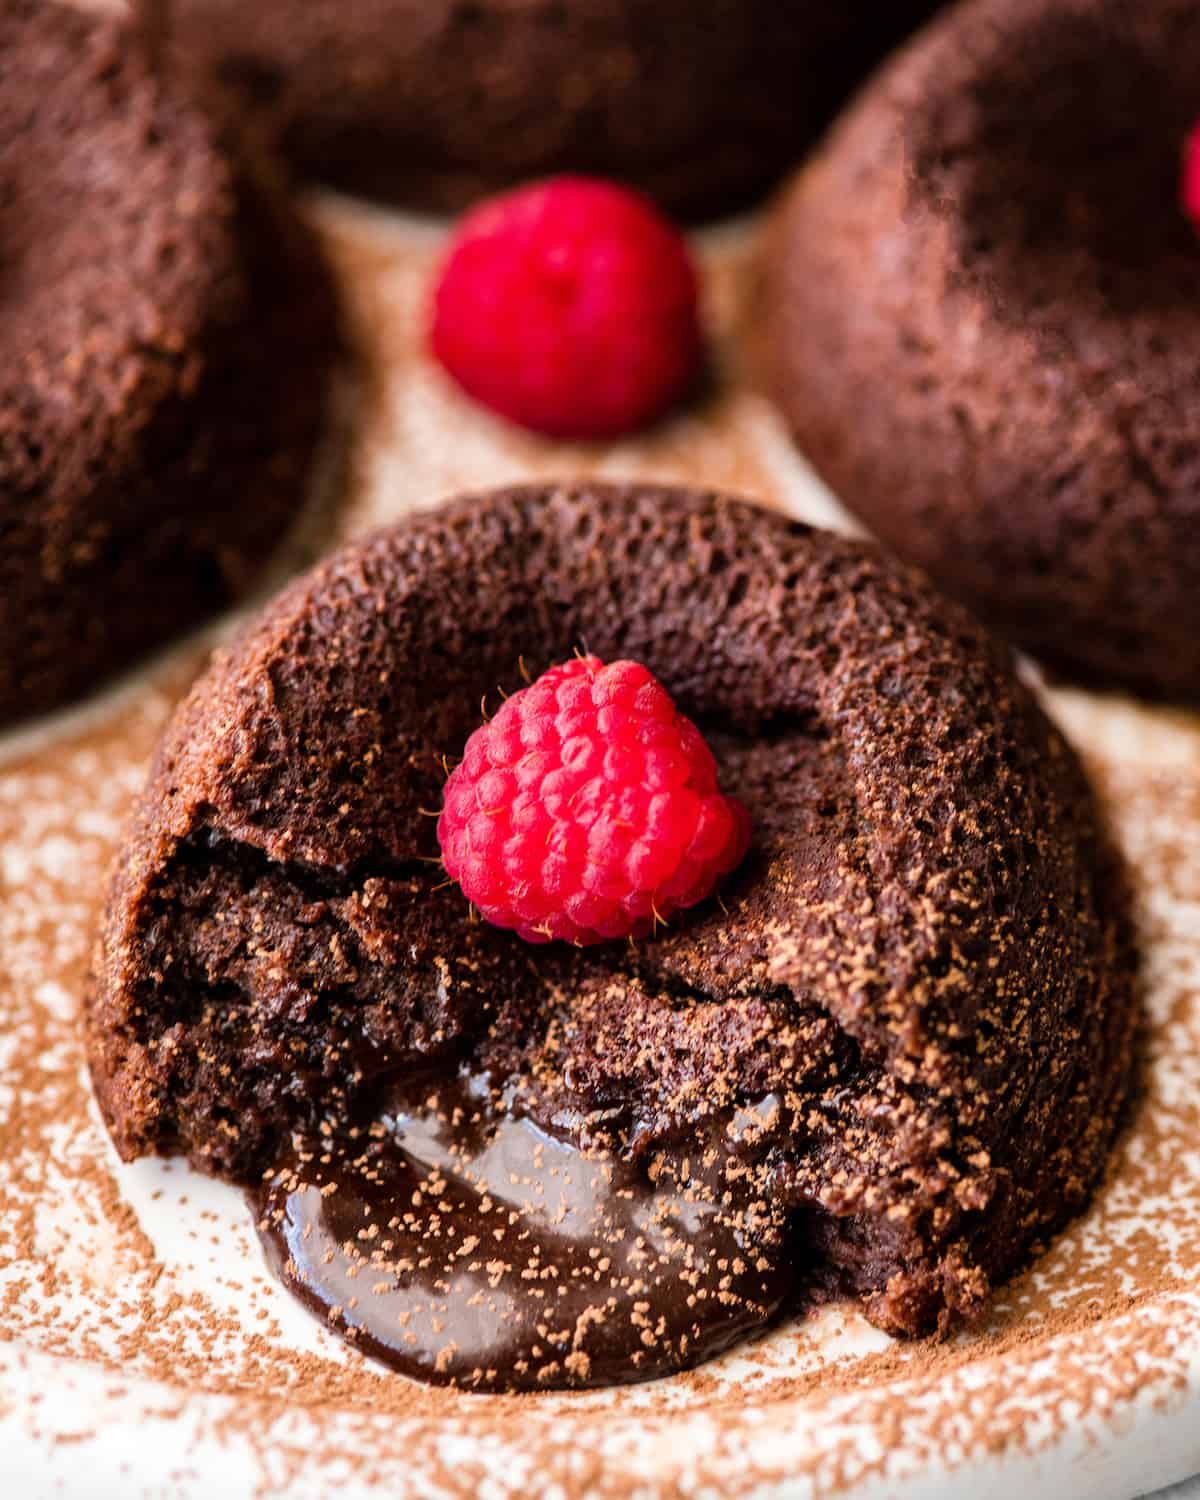
This easy Molten Chocolate Lava Cake recipe is made with 6 ingredients in 20 minutes and includes gluten-free options! These lava cakes are a decadent gourmet dessert that’s surprisingly easy and uncomplicated to make.
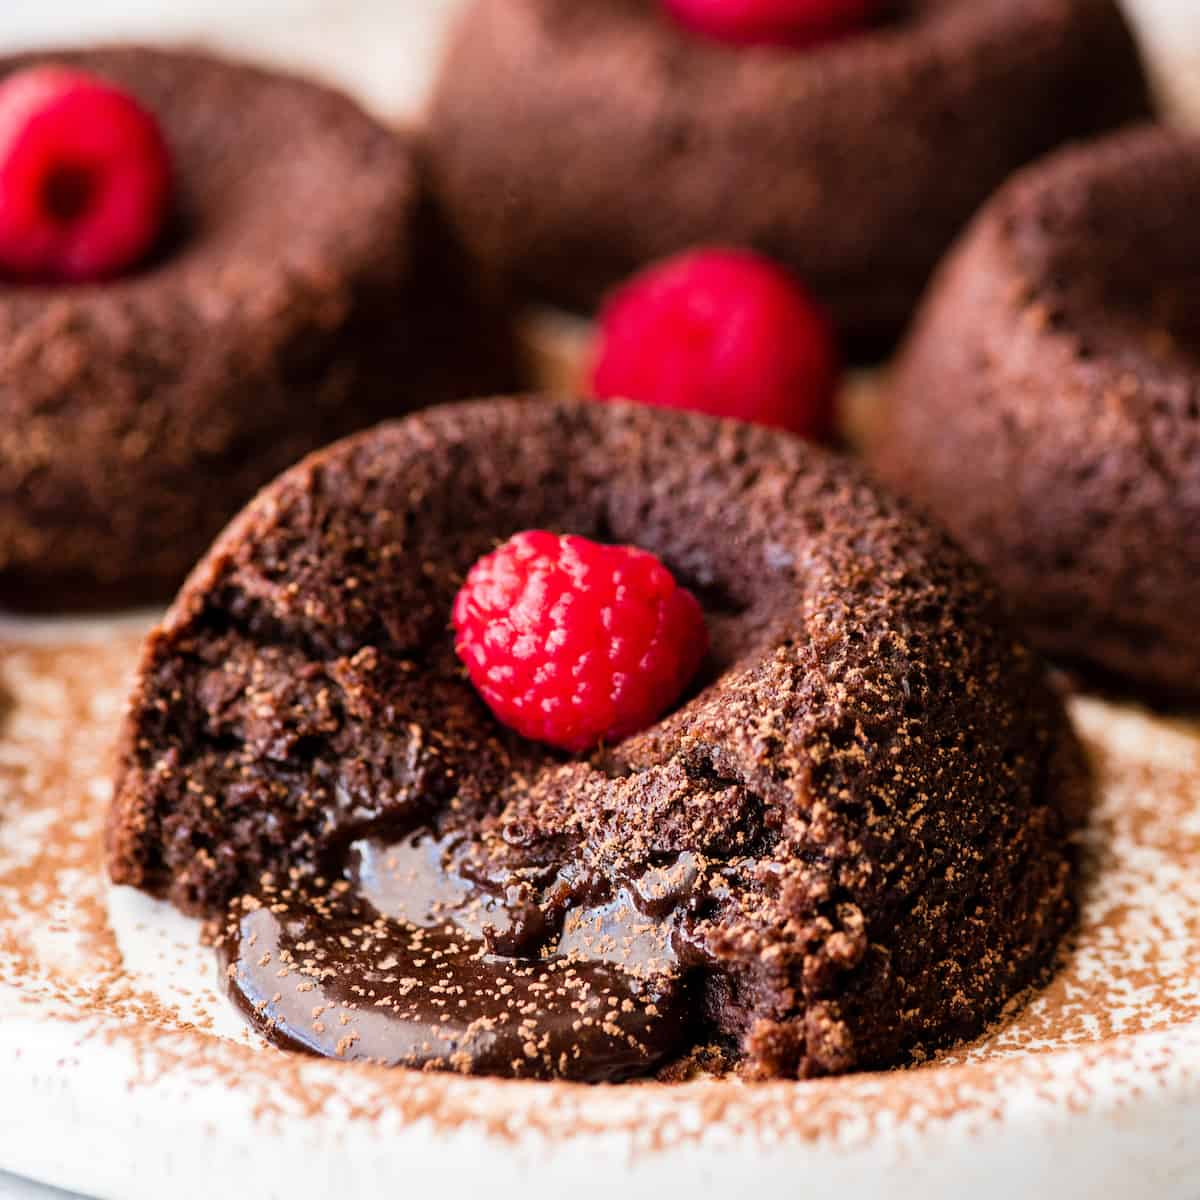
These Molten Chocolate Lava Cakes are a rich, decadent, gourmet dessert that are surprisingly easy and uncomplicated to make! They come together from start to finish in under 20 minutes, and are sure to wow your dinner guests!
Seriously, these lava cakes are so simple that I want to make them all the time. They have been a go-to in my house for almost a decade, and I’m so excited to share them with you today!
Once you try to make them at home, you will never need to go out to a fancy restaurant to satisfy your molten chocolate cake craving again! (i.e. Gooey chocolate cake in my pajamas…yes please)! Serve them with fresh homemade whipped cream and you won’t be sorry!
Not only are these beauties simple and special, but they are easily made gluten-free to comply with your (or your guests’) dietary needs!
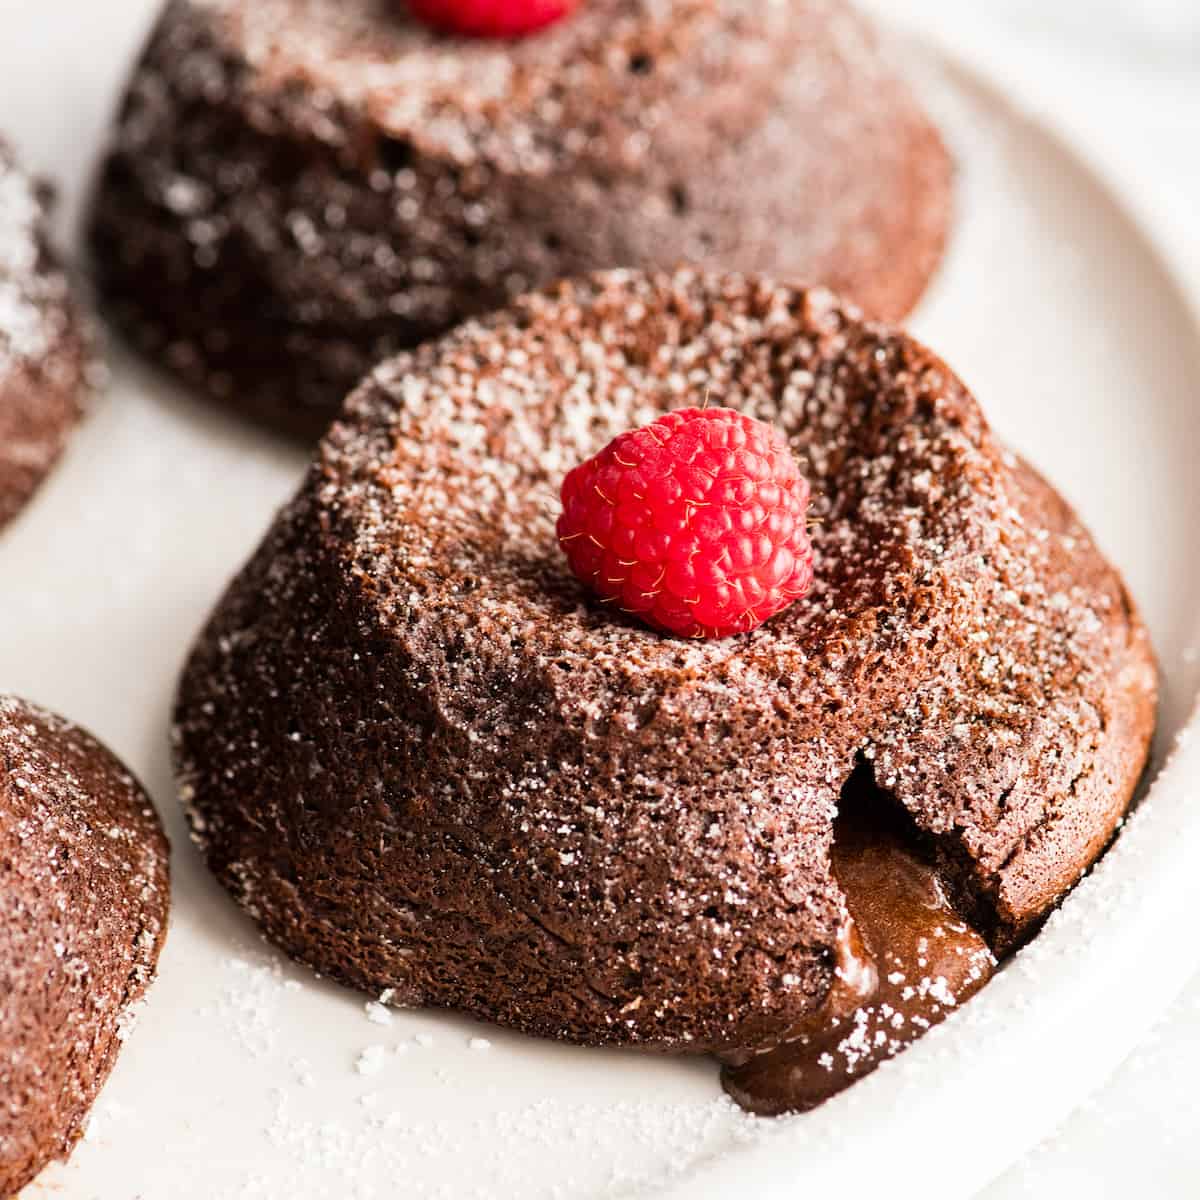
Molten Chocolate Lava Cake: Ingredients & Substitutions
Let’s take a minute and chat about the ingredients in this molten lava cake recipe, and possible substitutions.
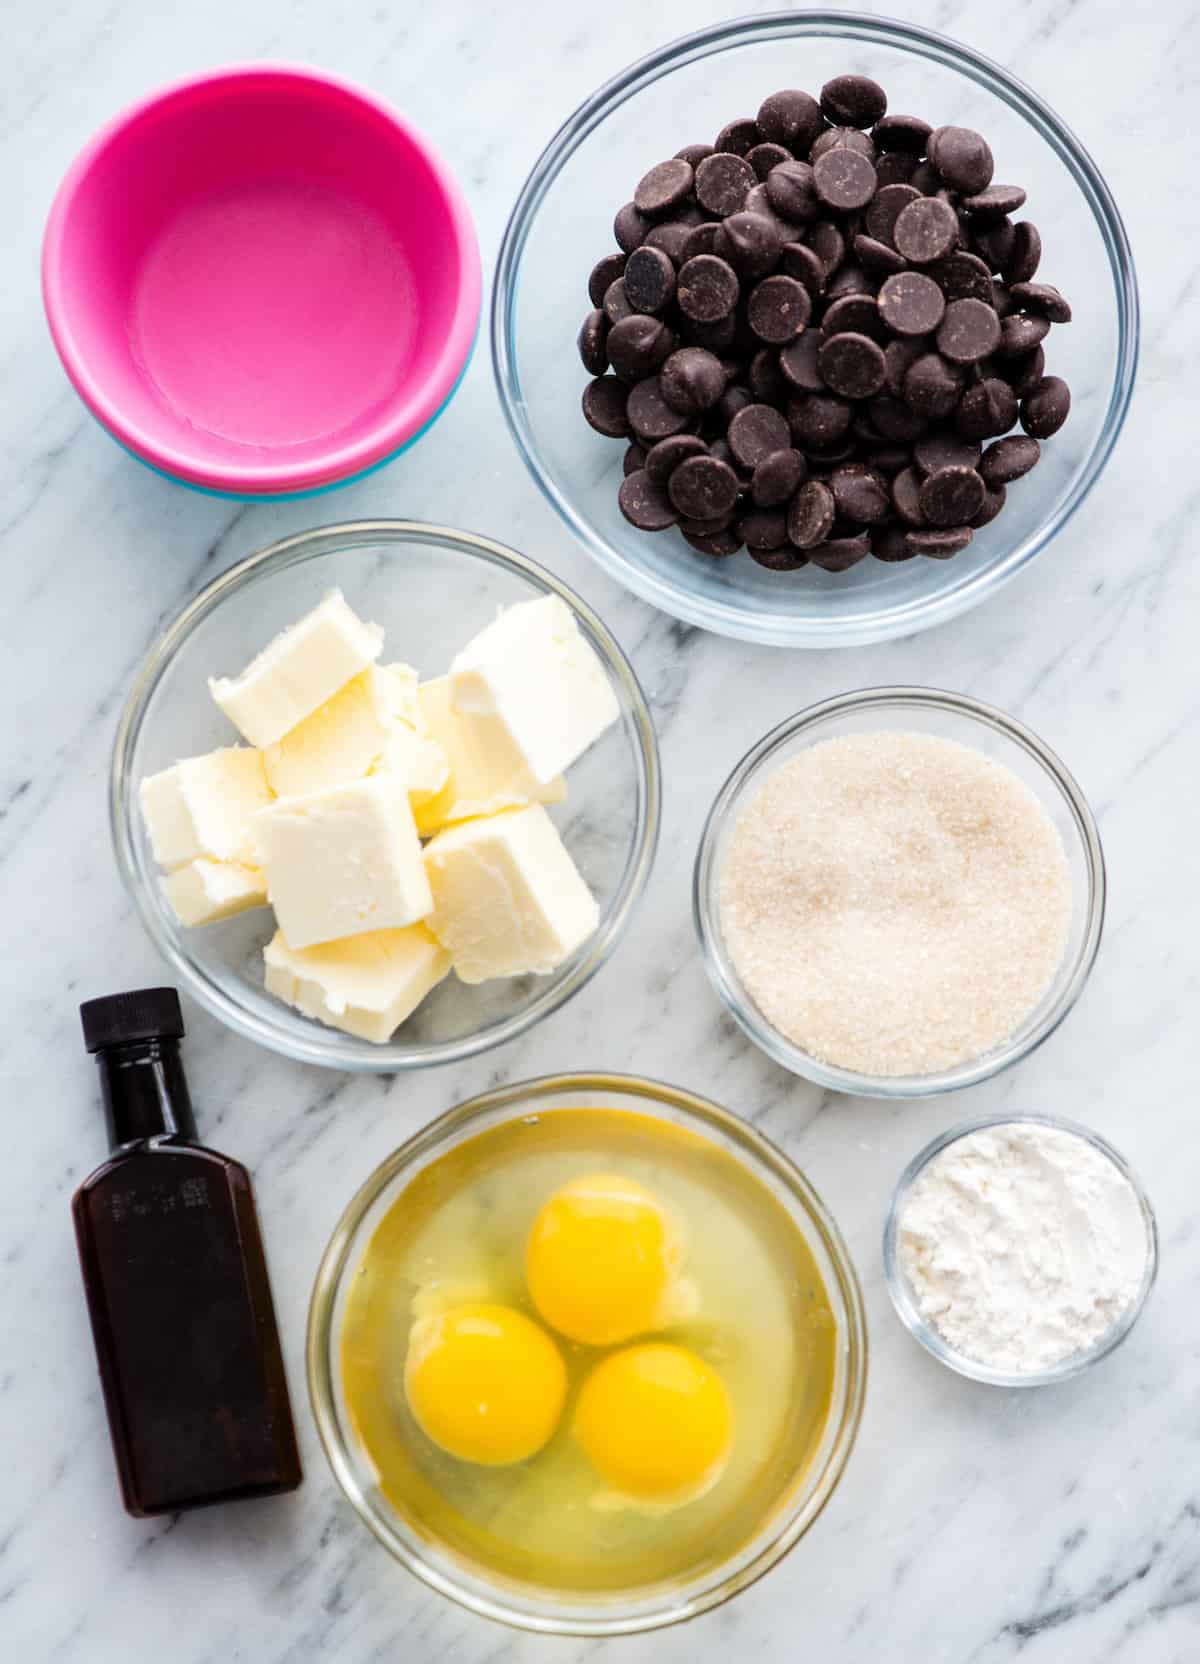
- Salted Butter. I always bake with salted butter. However I’m sure unsalted butter would work equally as well, you may just need to increase the amount of salt in the batter to 1/4 tsp (and a simple taste test should tell you that). In theory you could use vegan butter for a dairy-free version, but I have not tried it and cannot guarantee the results! (If you do try it please let me know in the comments).
- Semisweet Chocolate. Please NOTE: The quality of chocolate that you use in this chocolate lava cake recipe really matters. My go-to chocolate variety is Ghirardelli 60% dark chocolate chips. They are my favorite because I love the taste, quality and darkness. You can use chocolate chips or a chopped chocolate bar, just be sure to use 6 oz (or 3/4 cup) in total before melting.
- Eggs. There is no substitution for the eggs in this chocolate lava cake recipe. I recommend using room temperature eggs for the best results!
- Granulated Sugar. I use organic cane sugar in all of my dessert baking, however you can use regular white sugar as well.
- Vanilla Extract. Please be sure to use pure vanilla extract (not imitation or vanilla-flavored extracts). You can also use vanilla bean paste if desired!
- Flour. There are many options that I have tried and have worked well for the flour in this recipe. Since it only calls for 1 TBS, it’s easy to make substitutions that comply with your dietary needs (e.g. gluten-free). I have successfully used the following flours when making this chocolate lava cake recipe:
- all-purpose flour
- almond flour
- all-purpose gluten-free flour
- oat flour
- tapioca flour
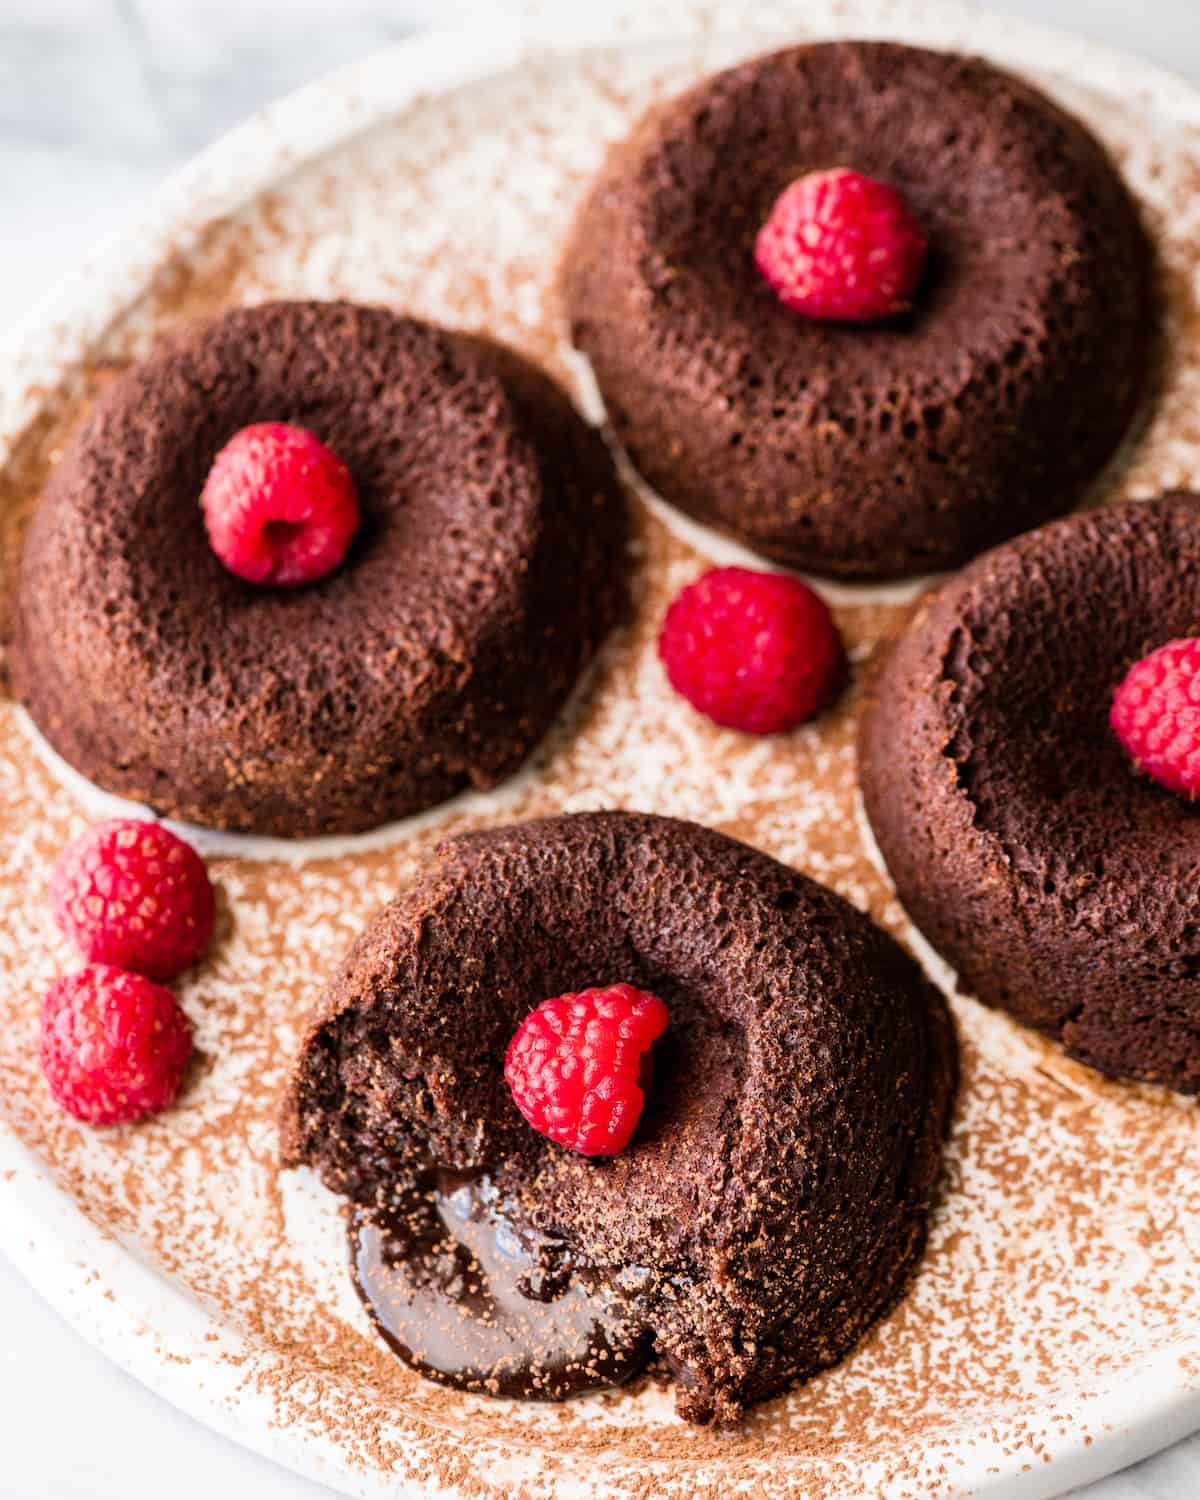
How to make chocolate lava cakes
These chocolate lava cakes are super easy to make! But (as always) I want to walk through the steps with you to ensure your success! You can also watch the video in this post to see exactly how they are made!
Gather materials/Ingredients
The first thing I like to do is gather all of the materials and ingredients necessary to make this molten lava cake recipe. There are only six ingredients, so this part is a breeze.
Use a large Silicone Muffin Cups
The one “special” item I recommend buying if you are a chocolate lava cake fan and plan on making this recipe over and over again, are these Silicone Mini Cake Pans/Large Muffin Cups or this Large Silicone Muffin Pan!
Yes, you can use a regular muffin tin to make this molten chocolate cake, however using these large silicone muffin cups makes removal a total breeze. Since I love serving chocolate lava cake when we have friends over for dinner for a special, elegant dessert, I really care about the presentation!
And being able to remove them easily from their baking vessel is key to pretty little molten lava cakes that hold together nicely!
Melt the Chocolate & Butter
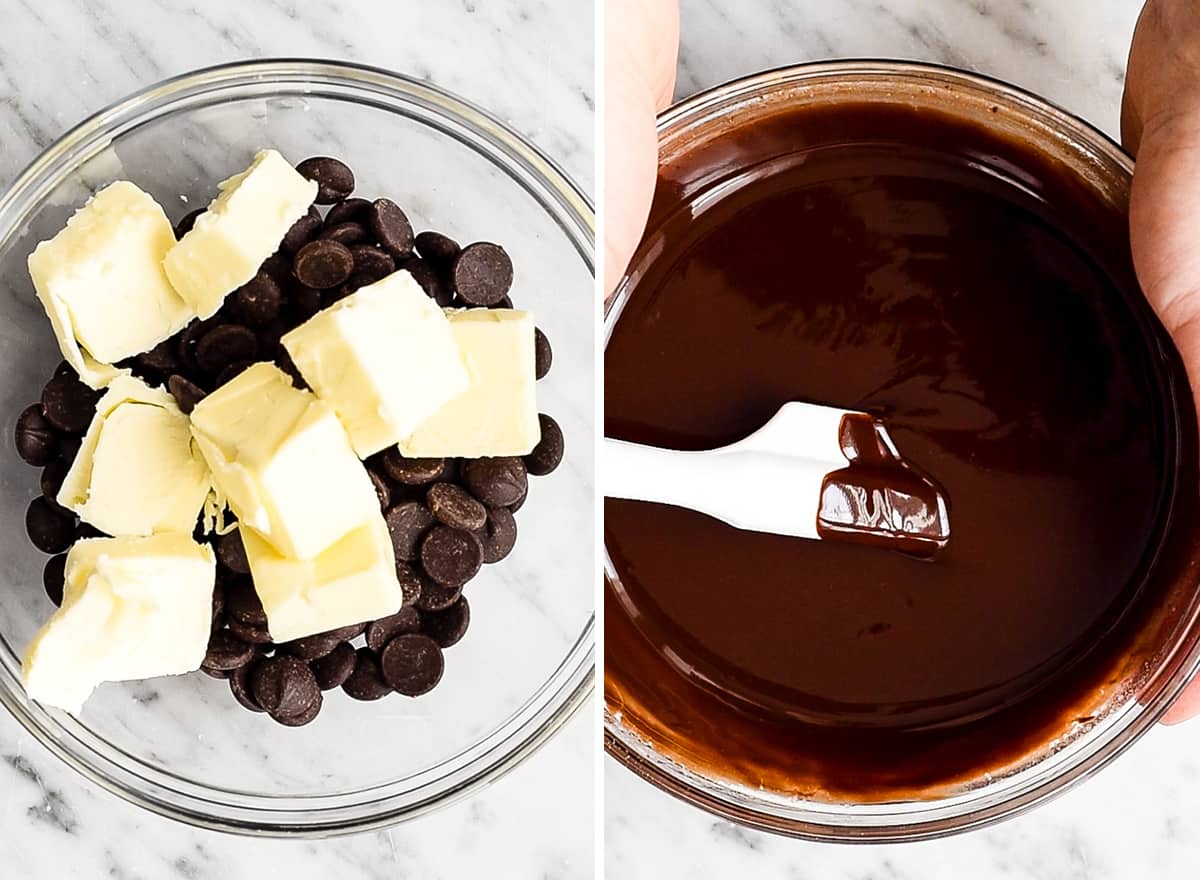
The next step in making this chocolate lava cake recipe is to melt the butter and chocolate together. This can be done in one of two ways:
- In the microwave. Put the butter & chocolate in a microwave-safe bowl and warm until just melted (about 60-90 seconds). Start by warming for 60 seconds, stirring, and then warming in 30 second increments stirring after each until the mixture is melted and smooth.
- On the stovetop over medium-low heat. You can also gently melt the butter and chocolate together in a small saucepan on the stovetop over low heat. Be sure to stir consistently and remove the pan from the heat as soon as the mixture is smooth.
One the butter/chocolate mixture is silky smooth and fully melted, set it aside to use later in the recipe.
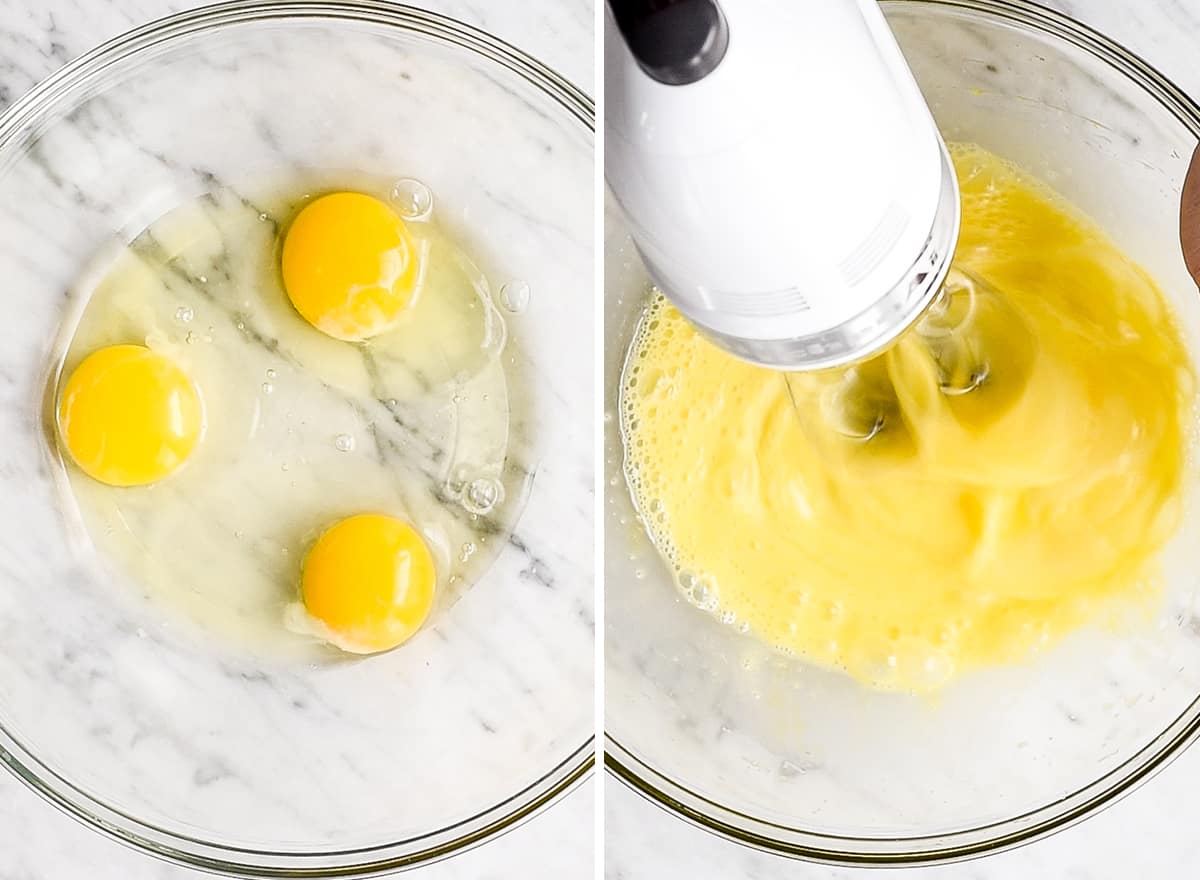
Beat the eggs.
Using either a standing mixer or hand mixer, beat the eggs until they are light and pale (for about 60 seconds). This is an important step for the overall texture and heartiness of this chocolate lava cake recipe, so please don’t skip it!
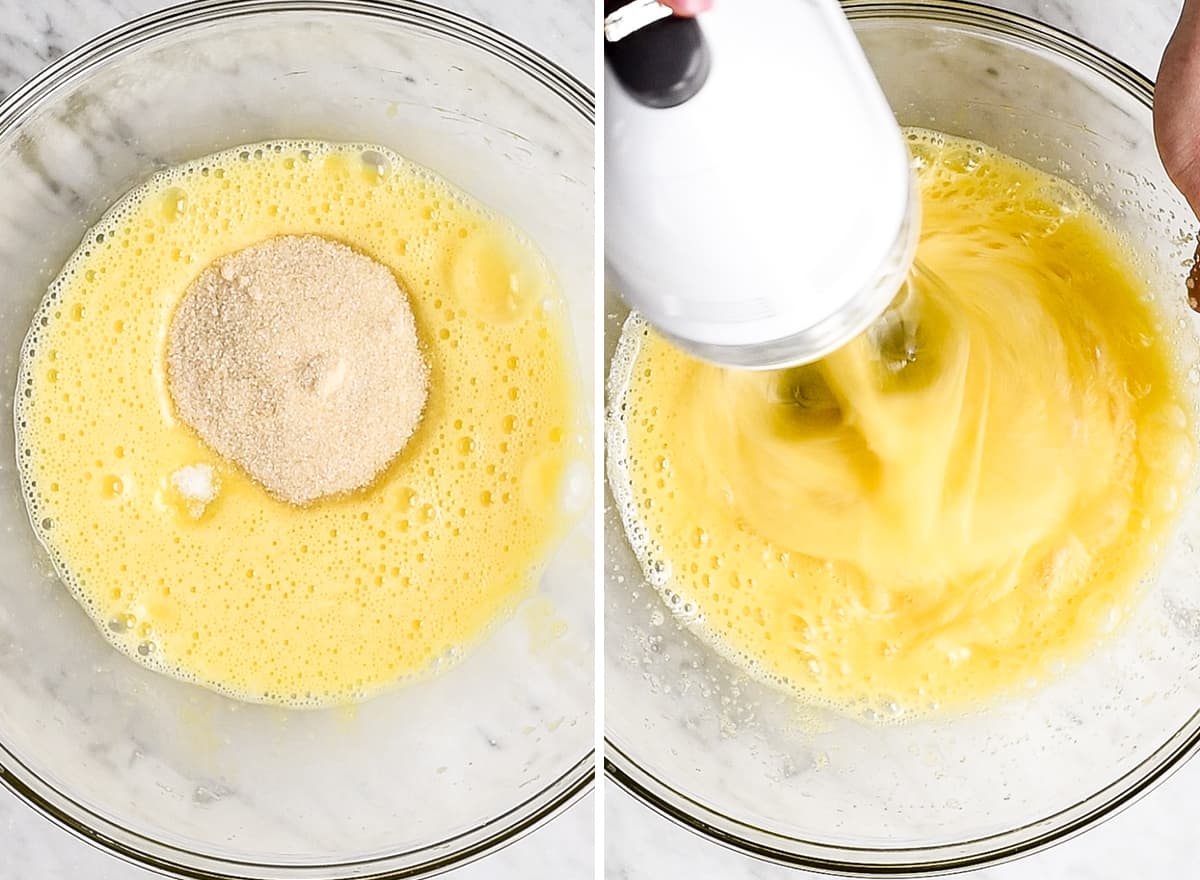
Beat in sugar & salt
Once the eggs are light and pale, add sugar and salt and beat until the sugar is completely dissolved.
I used a hand mixer for the sake of making a video, but I usually use a standing mixer fitted with the wire whisk attachment.
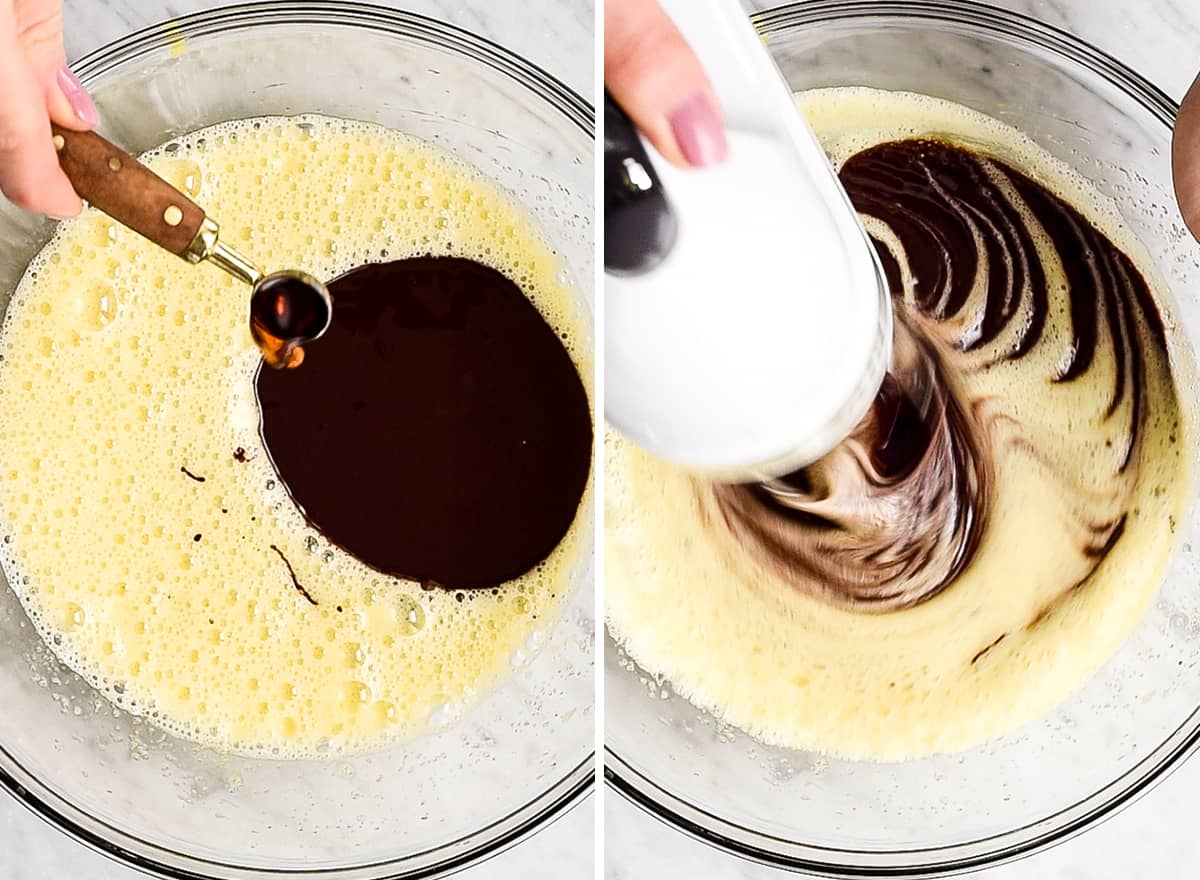
Beat in melted chocolate & vanilla
Do you sense a “beating” theme in this recipe? By this point the melted chocolate should have cooled slightly, and is ready to be added to the molten lava cake batter (along with the vanilla).
Beat until the mixture is homogenous (uniform throughout) and smooth.
Gently stir in flour
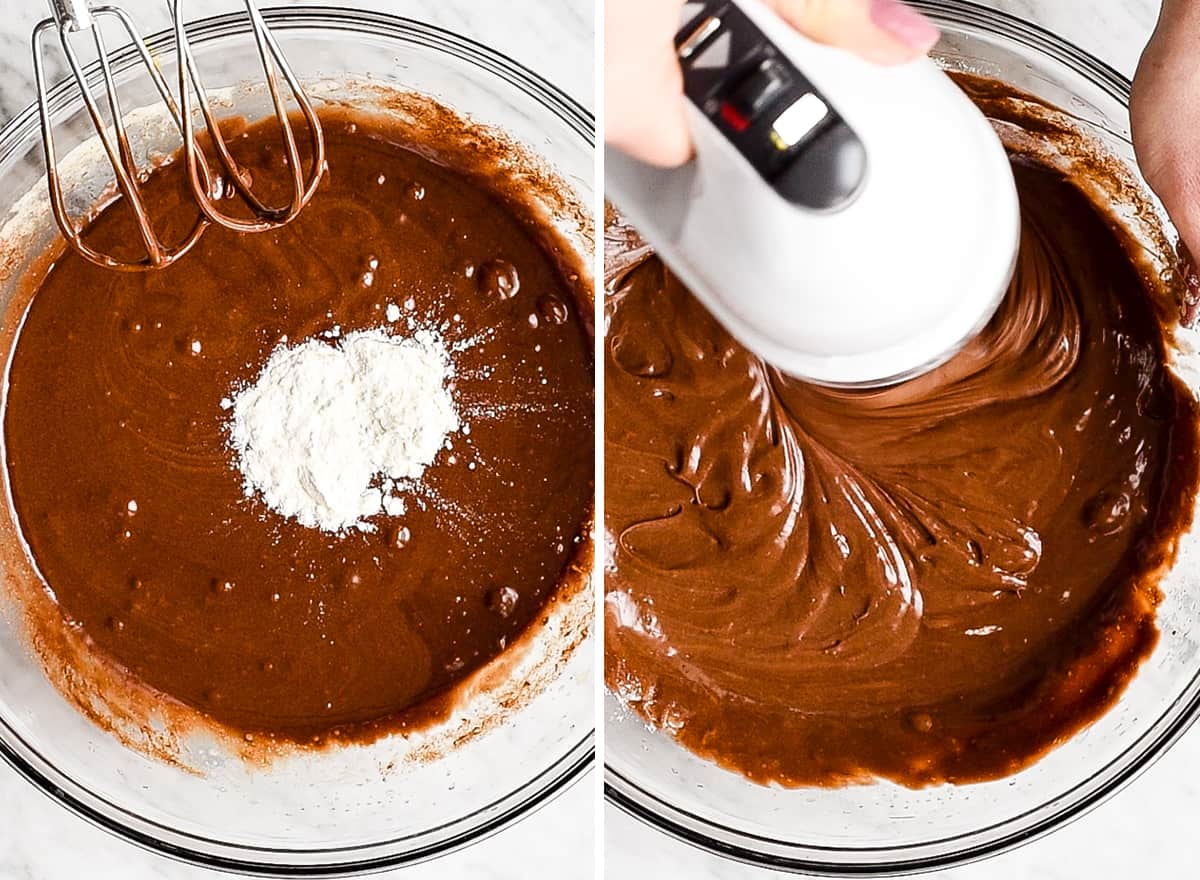
Last, but not least, add the flour of your choice (see notes on what types I recommend later on in the post or in the recipe card). This time, mix the batter on low speed until the flour is just combined.
The final batter will be thick with a rich chocolate color (pictured below).
Pour into baking cups & bake
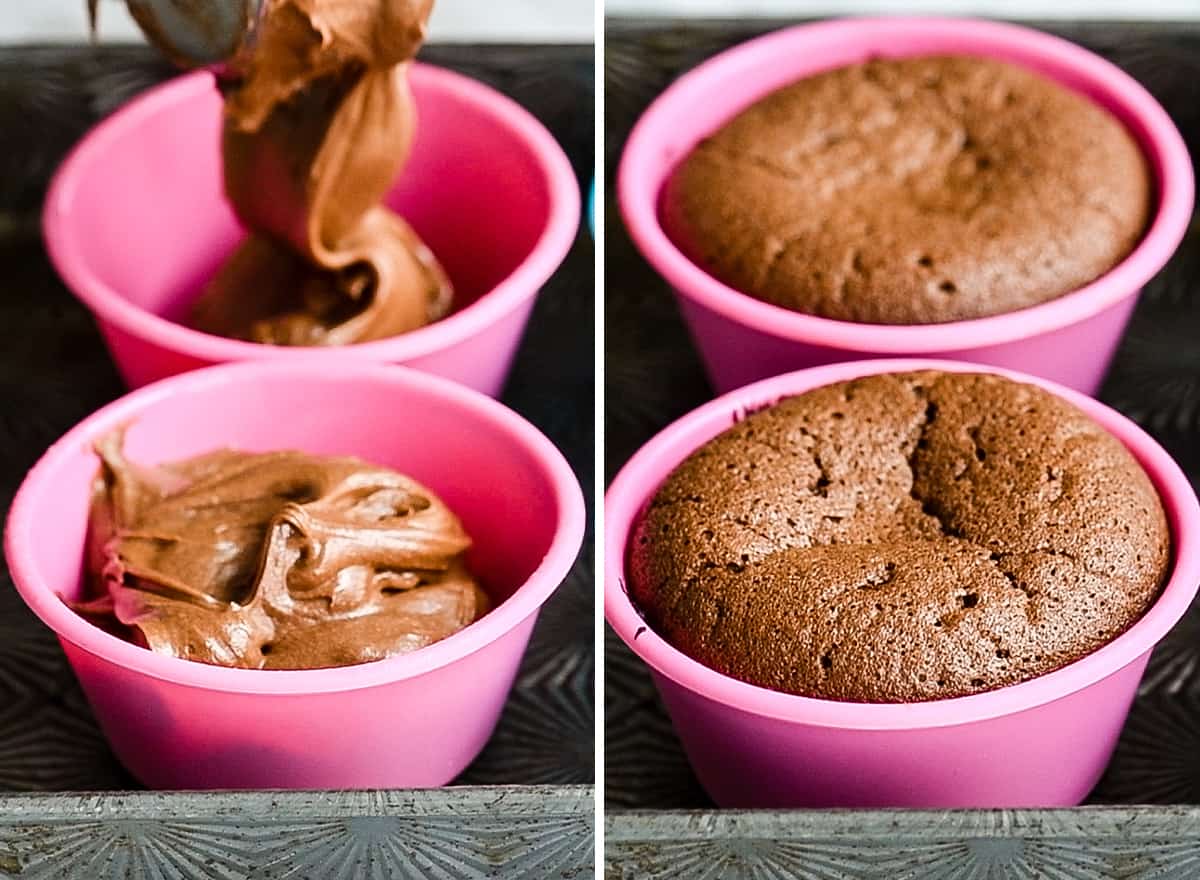
Place the silicone baking cups or silicone muffin pan on a flat baking sheet. Use a 1/2 cup measuring cup to scoop the batter evenly into the baking cups or the wells of a muffin tin. These are large baking cups (3 1/2″), so the recipe yields four chocolate lava cakes which take roughly 10-12 minutes to bake.
If using a smaller baking vessel, be sure to adjust the baking time accordingly. I have made smaller molten lava cakes & this recipe has yielded 6, however if you do that baking time will be between 8-9 minutes.
How do you know when lava cake is done?
You will know the molten chocolate lava cake is done when the top is puffed but doesn’t look totally set. It will still be jiggly which is a good thing.
If the top becomes too set it will mean that the inside is set as well, and you will not have any gooey lava ooze out and it will be a sad day! Whomp Whomp.
Let the chocolate lava cake cool slightly.
Let the molten lava cake cool for 2-3 minutes in the baking cups before removing. This will ensure that the cakes hold up when transferred. The tops will sink a little bit as they cool, which is completely normal.
Turn chocolate lava cakes out onto serving plates.
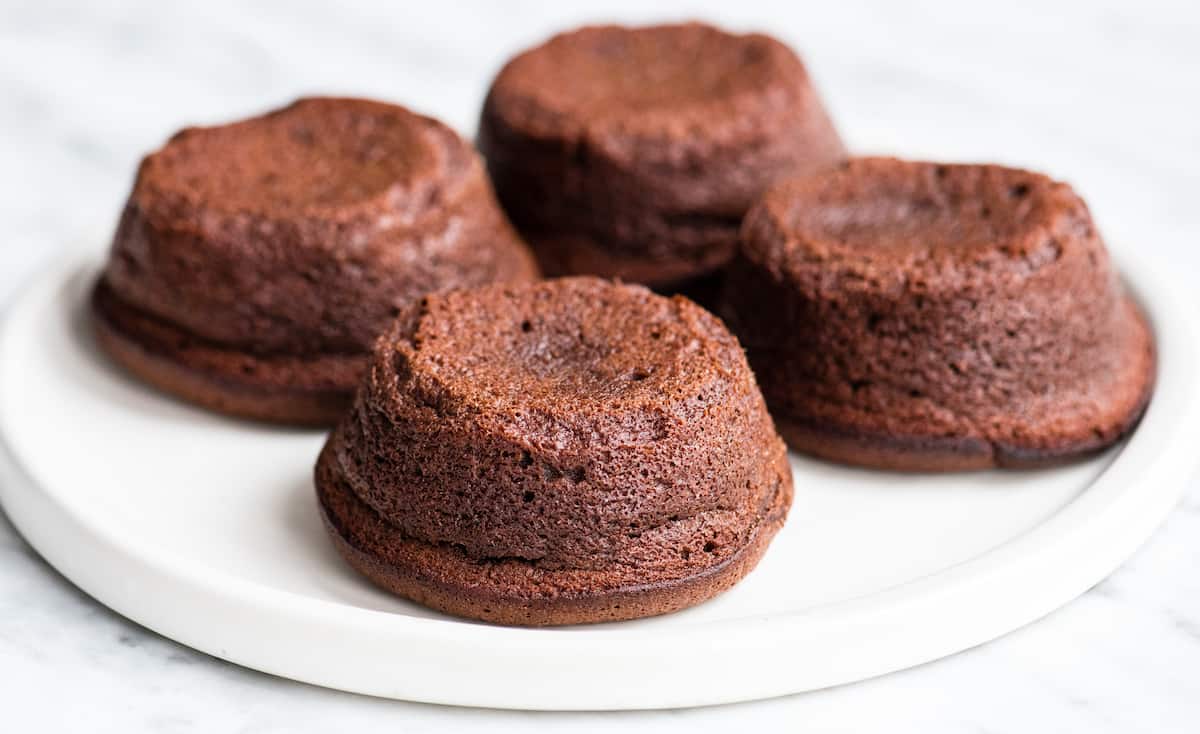
Carefully turn each chocolate lava cake out onto a serving plate, and gently remove the silicone cup from over the top of it.
I recommend putting the molten lava cake directly onto the plate that it will be eaten from. They are not easy to move once they have been plated, and you run the risk of them falling apart in the process if you transfer them twice.
Garnish & Serve
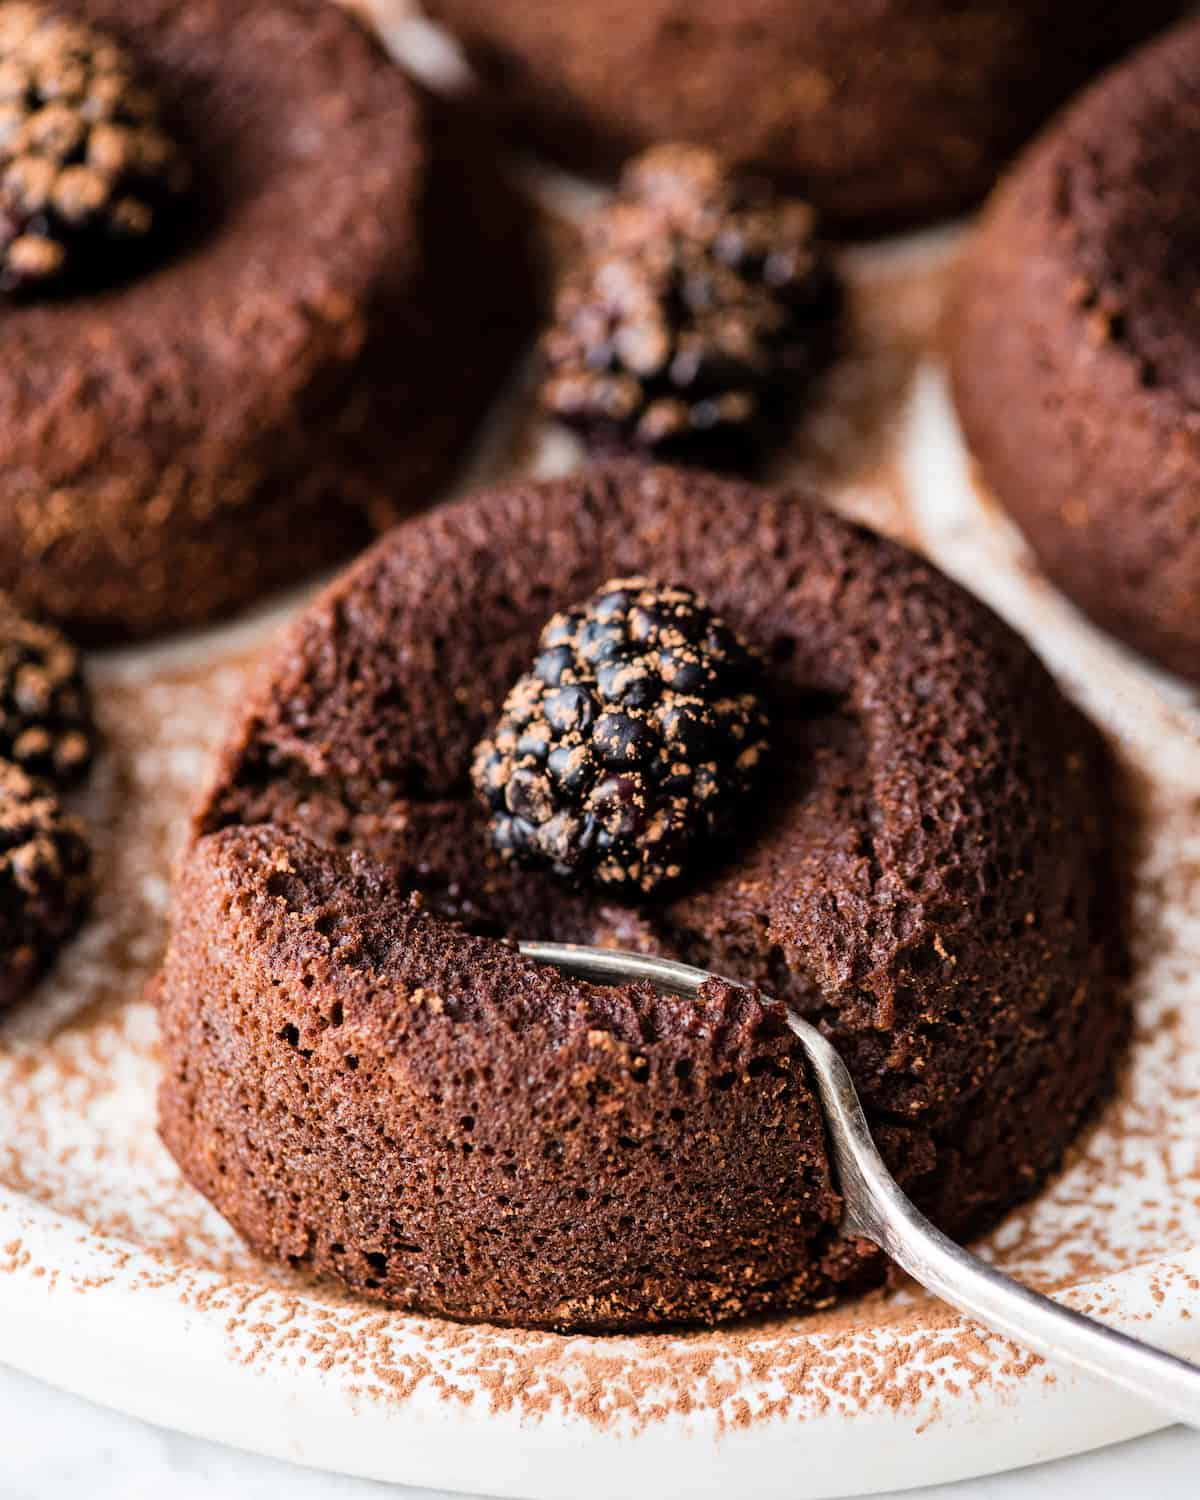
The sky is the limit with how you can serve this chocolate lava cake recipe. Here are a few of my suggestions:
- Dusting of cocoa powder or powdered sugar
- Homemade whipped cream (or strawberry whipped cream)
- Fresh berries
- Ice cream (try this homemade vanilla ice cream or this homemade chocolate ice cream)
- Peanut butter (make your own homemade peanut butter).
To make in advance
The batter can be made up to one day ahead of time and stored in the refrigerator. Just return it to room temperature an hour before baking and then bake as the recipe directs.
I often prepare these before dinner guests arrive, and then pop them in the oven when we’re halfway through the meal so that I can serve them fresh and warm.
I recommend storing the batter in the refrigerator if you plan on waiting more than one hour after it has been made to bake!
Store
Store leftover lava cakes in the refrigerator for up to 5 days. Reheat in the microwave or in the oven set to warm.
FAQS about making Chocolate Lava Cake
Here are answers to a few frequently asked questions about making chocolate lava cake!
The only thing inside a chocolate lava cake is the batter! Baking molten chocolate cakes at a very high temperature (450 degrees F), causes the outside to bake faster than the inside. This leaves you with a perfectly cooked shell loaded with gooey, to-die-for, chocolate lava filling!
If you have leftover chocolate lava cake I recommend storing it in the refrigerator in an airtight container. Doing so will preserve their freshness longer!
Yes! I have reheated my fair share of lava cakes with beautiful results. Simply warm the chocolate lava cake in the microwave for about 30 seconds and enjoy!
Yes and amen. They absolutely do. If you want that gooey, oozy, chocolate lava-y factor they should be served no more than 5 minutes after being removed from the oven (and I recommend more like 3 minutes).
If you make and love our recipes, it would mean so much to me if you would leave a comment and rating! And don’t forget to follow along with us on Instagram, Pinterest, Facebook, and Youtube – be sure to tag @joyfoodsunshine and use the hashtag #joyfoodsunshine so we can your creations!
Molten Chocolate Lava Cakes
Ingredients
- ½ cup salted butter
- 6 oz (3/4 cup) semisweet chocolate (chips or chopped)
- 3 large eggs
- ¼ cup granulated sugar
- 1/8 tsp sea salt
- ½ tsp pure vanilla extract
- 1 TBS flour*
Instructions
- If baking immediately: Preheat oven to 450 degrees F.
- Grease four silicone baking cups and place them on a baking sheet. Set aside.
- In the microwave or on the stovetop over low heat, melt butter and chocolate and stir until smooth. Set Aside.
- Place eggs into the bowl of your standing mixer and beat for 1 minute or until pale yellow.
- Add sugar and sea salt to the beaten eggs and beat until sugar dissolves (about 1 minute)
- Add chocolate mixture and vanilla extract and beat until smooth.
- Beat in flour until just combined.
- Pour batter evenly into 4 silicone baking cups.**
- Bake for 10-12 minutes until the batter puffs and the center is just barely set (it will not seem done but it is).
- Remove from oven and let the cakes sit on the baking tray in the silicone cups for 2-5 minutes.
- Turn the cakes out onto the plates you plan to serve them on.
- Serve warm with fresh whipped cream, a sprinkle of powdered sugar, fresh berries, etc.
Video
Notes
Ingredient Substitutions
- Salted Butter. unsalted butter can be used in place of salted butter.
- Semisweet Chocolate. Please : The quality of chocolate that you use in this chocolate lava cake recipe really matters. My go-to chocolate variety is Ghirardelli 60% dark chocolate chips. They are my favorite because I love the taste, quality and darkness. You can use chocolate chips or a chopped chocolate bar, just be sure to use 6 oz (or 3/4 cup) in total before melting.
- Granulated Sugar. I use organic cane sugar in all of my dessert baking, however you can use regular white sugar as well.
- Flour. There are many options that I have tried and have worked well for the flour in this recipe. Since it only calls for 1 TBS, it’s easy to make substitutions that comply with your dietary needs (e.g. gluten-free). I have successfully used the following flours when making this chocolate lava cake recipe:
- all-purpose flour
- almond flour
- all-purpose gluten-free flour
- oat flour
- tapioca flour
Baking vessel
You can use a standard muffin tin that is greased very well, however silicone cups are by far the easiest way to ensure that these molten lava cakes are removed in-tact. **To make in advance
The batter can be made up to one day ahead of time. Simply return it to room temperature an hour before baking and then bake as the recipe directs. I often prepare these before dinner guests arrive, and then pop them in the oven when we’re halfway through the meal so that I can serve them fresh and warm.Store
Store leftover lava cakes in the refrigerator for up to 5 days. Reheat in the microwave or in the oven set to warm.Nutrition
Nutrition information is automatically calculated, so should only be used as an approximation.
More Chocolate Desserts
I take my chocolate dessert making seriously! Here are some of my favorite desserts for serious chocolate lovers:
- This flourless chocolate cake is one of my all-time favorites!
- Make this homemade chocolate pudding – way better than store bought.
- This is the best chocolate cake recipe from scratch you’ll ever make or eat. Perfect to make a chocolate birthday cake!
- The BEST homemade chocolate cupcakes (no box mix)!
- I am a sucker for fudgy brownies, like these flourless brownies, healthy greek yogurt brownies or my classic brownie recipe.
- If you love chocolate and peanut butter, you have to make this puppy chow recipe and this chocolate peanut butter fondue!
- This dairy-free chocolate fondue is such a fun treat for girls’ night!
- And of course, or recipe for the best ever chocolate chip cookies!
- For an easy and irresistible dessert, try this Skillet Cookie (Pizookie) recipe! It’s like eating warm cookie dough and it comes together in 20 minutes flat!
This post contains affiliate links, which means that if you purchase a product through a link you clicked on here, I receive a portion of the sale. Thank you for supporting JoyFoodSunshine!
I just ordered the silicone cups you recommended from Amazon. They say they are good for temps up to 446 degrees but your recipe calls for a baking temp of 450. Is this a problem?
Nope, I use them to make this recipe often!
I love the flavor and ease. In my silicone muffin tray the natter made 6, and the edges had burned by 10 minutes so I’;; check earlier next time. After melting the chocolate & butter in the microwave, I did all the mixing in my bullet, including adding the melted chocolate-butter combo. I’m following Paleo, so I used almond flour and coconut sugar, reducing the latter to 1 TBLS. I enjoyed these sooooooo much. Thank you!
I have made this recipe twice now: once for a coworker with Celiac’s disease, then a second time for my boyfriend’s family. Both times it got rave reviews. My boyfriend’s sister actually started tearing up when she was eating the last few bites because it was the best thing she had ever eaten. I like to serve it with a whipped cream flavored in a way the person I am baking for enjoys (first time around was a chai spiced whipped cream, second time was peanut butter whipped cream). I’m definitely keeping this recipe in my go-to desserts file.
Wow Theresa! I’m so glad that this recipe helped you bring joy to your family!
Hi! Thank you for the recipe. I have two questions. Is it better for the eggs to be at room temp before beating? When you prepare ahead do you store them in the baking container or do you put them in the baking container once ready to bake? Thank you!
Amazing
Hi there, my cakes tasted delicious but they were not molten anymore after microwaving them a day later. I was really hoping they would be. Is that to be expected or am
I doing something wrong? Thank you so much!
Sounds like maybe you just microwaved them too long. They should retain their molten centers.
My 11-year-old son made these for us and they were perfect! He did it all on his own and was so proud of how they turned out. He sprinkled powdered sugar on top and it looked like we were dining at a fancy restaurant. Thank you for creating recipes for people like us who aren’t pros. 🙂
Made these and they were great. Super easy too. Thanks so much
Thank you Talia! This is one of my favorite recipes! 🙂
I loved this recipe, it was so easy to follow and it turned out great!!! Thank you!!
our batter is much more runny than your photo. I have checked all the numbers carefully! Was your batter cooled a bit ahead of time for the butter to harden a little?
Hey Laura! YES the batter thickens as it sits! I have baked these cakes both immediately after mixing and have waited hours and they always turn out great! The batter should be a touch thick after beating the eggs/sugar mixture! How did it end up working for you?
Mine also turned out more pourable than the pictures look. We shall see how it comes out. I beat the eggs for about 2 minutes, they didn’t thicken up a much so was expecting, it may have had to do with my eggs being the wrong temperature.
Hey Libby! How did it turn out?
I’ve never made molten chocolate lava cakes!!! The pool of chocolate pouring out of the middle is just so exciting to me.